A re-roof, photographed start to finish
Red tiles off, natural slate on. We took photos at every stage of this West London job, so you can see the parts of a new roof that end up hidden.
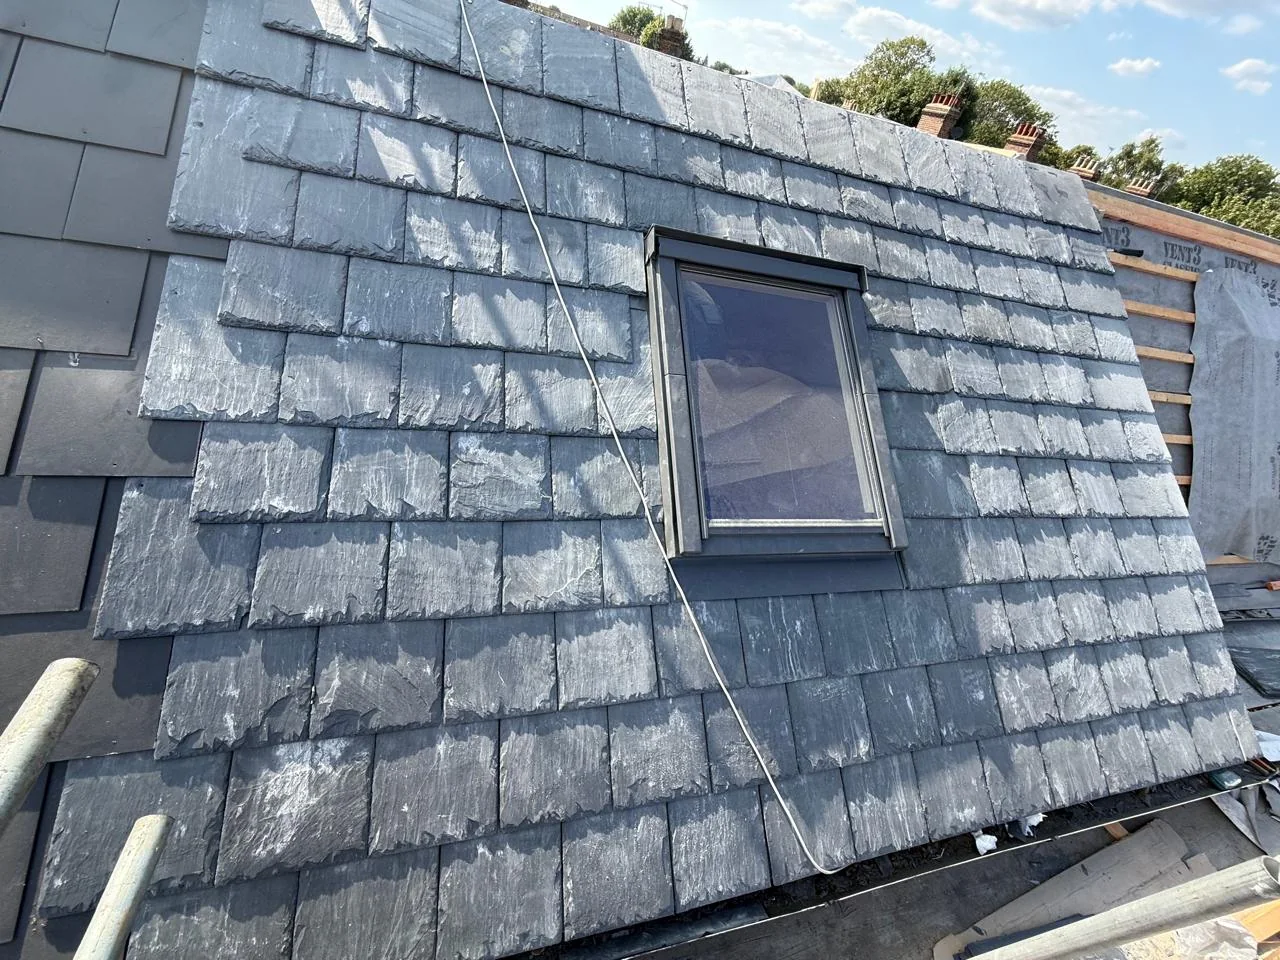
Most of the work ends up out of sight
Once the slates are on, nobody sees the membrane, the batten spacing or how the windows were sealed in. Those are the parts that decide how long the roof lasts.
So we photographed them. If you are getting quotes for a new roof, this is what to ask everyone else about.
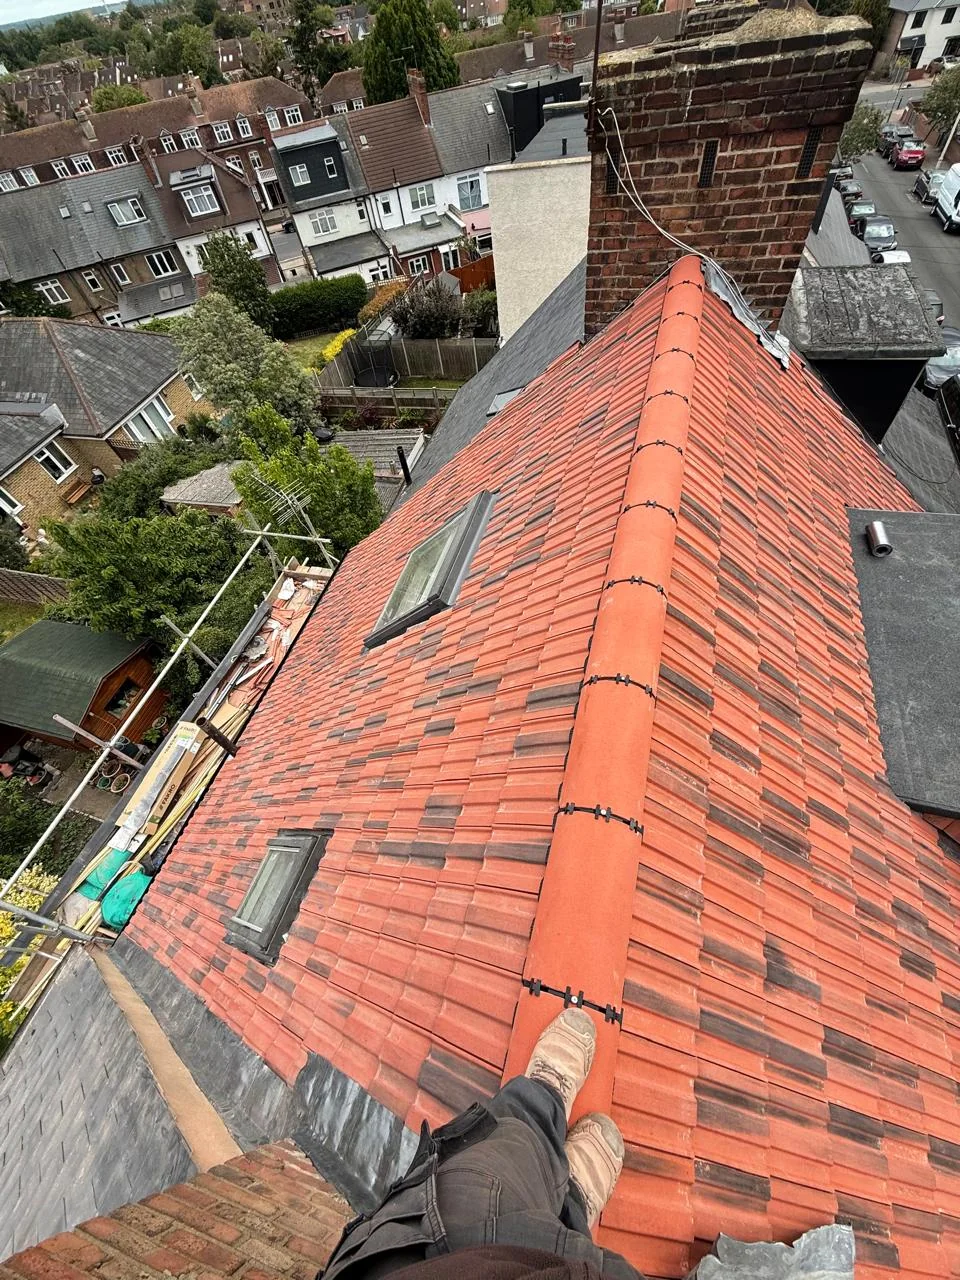
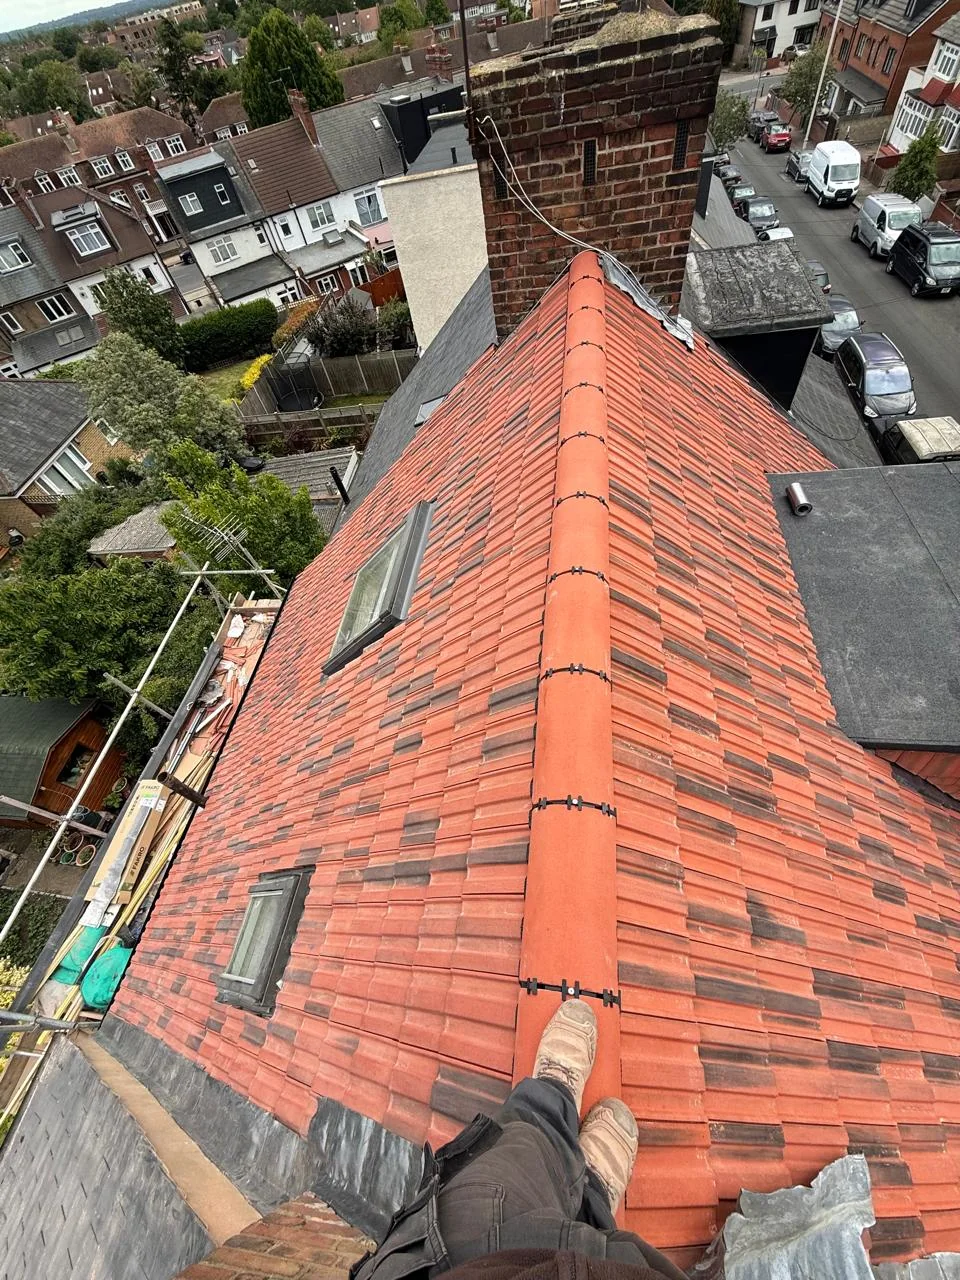
Look and record
The old tiled roof, the chimney and the existing roof windows, photographed before anything came off.
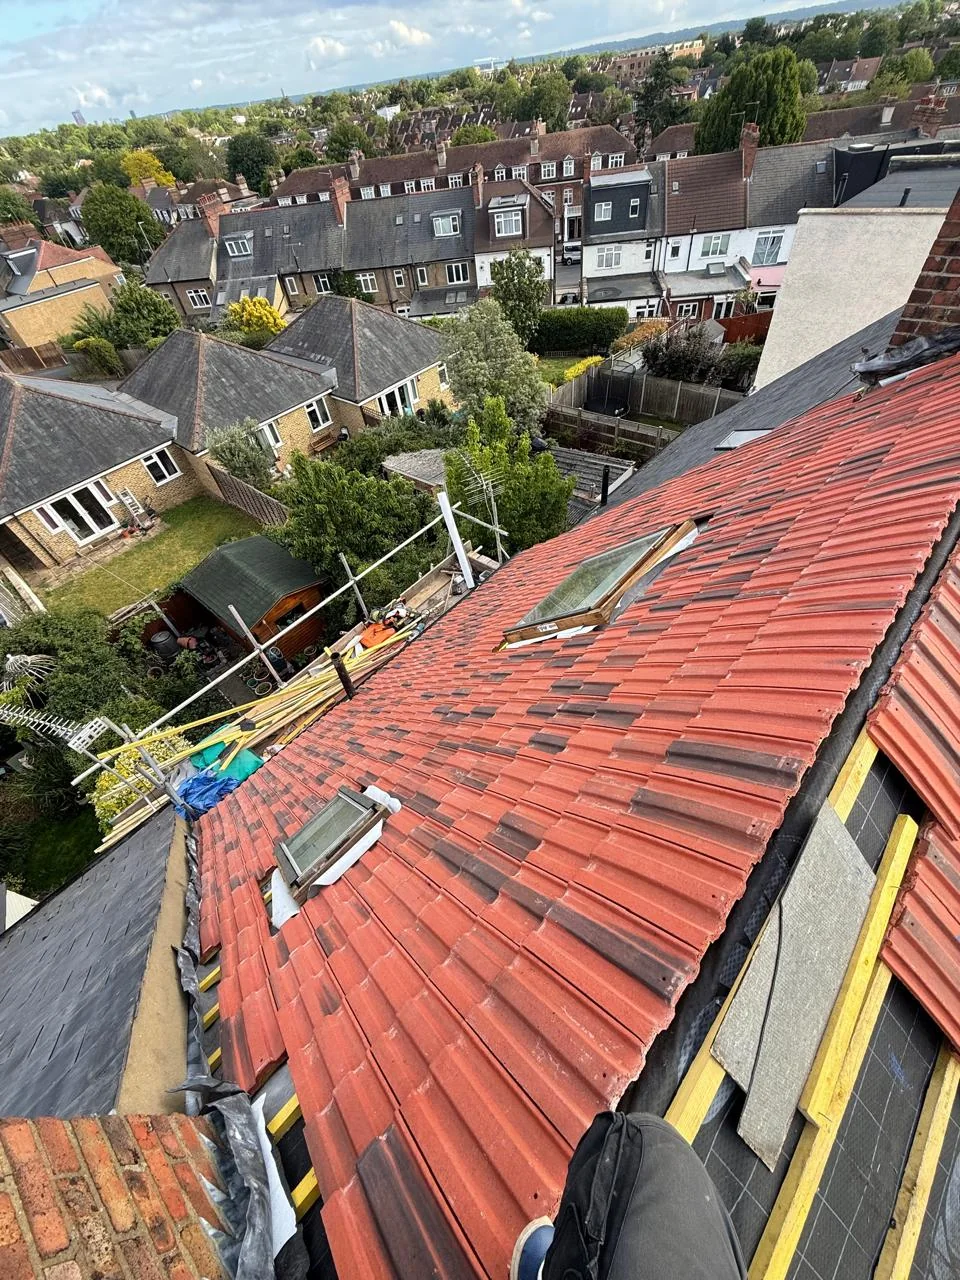
Strip and cover
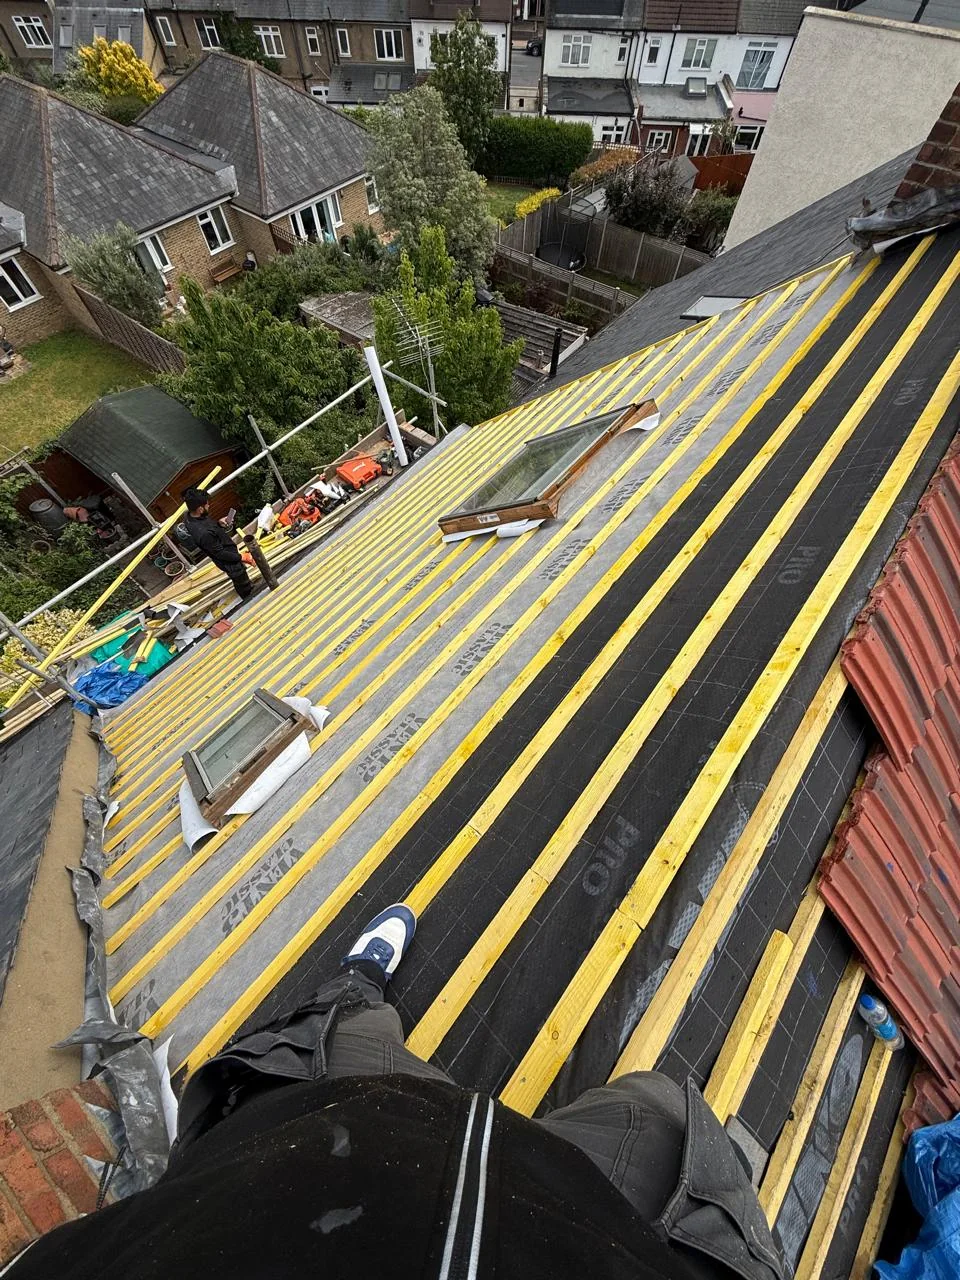
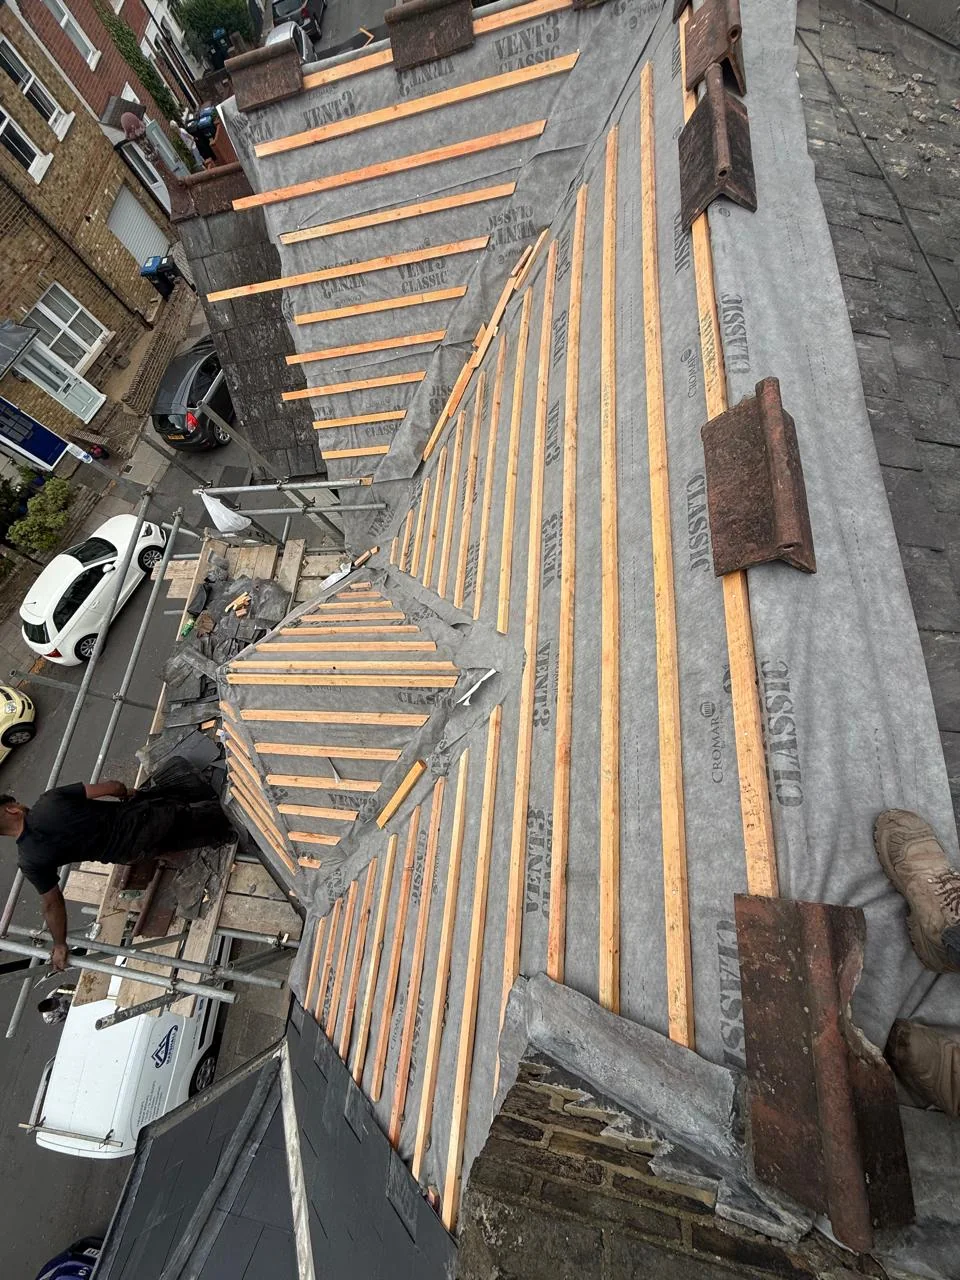
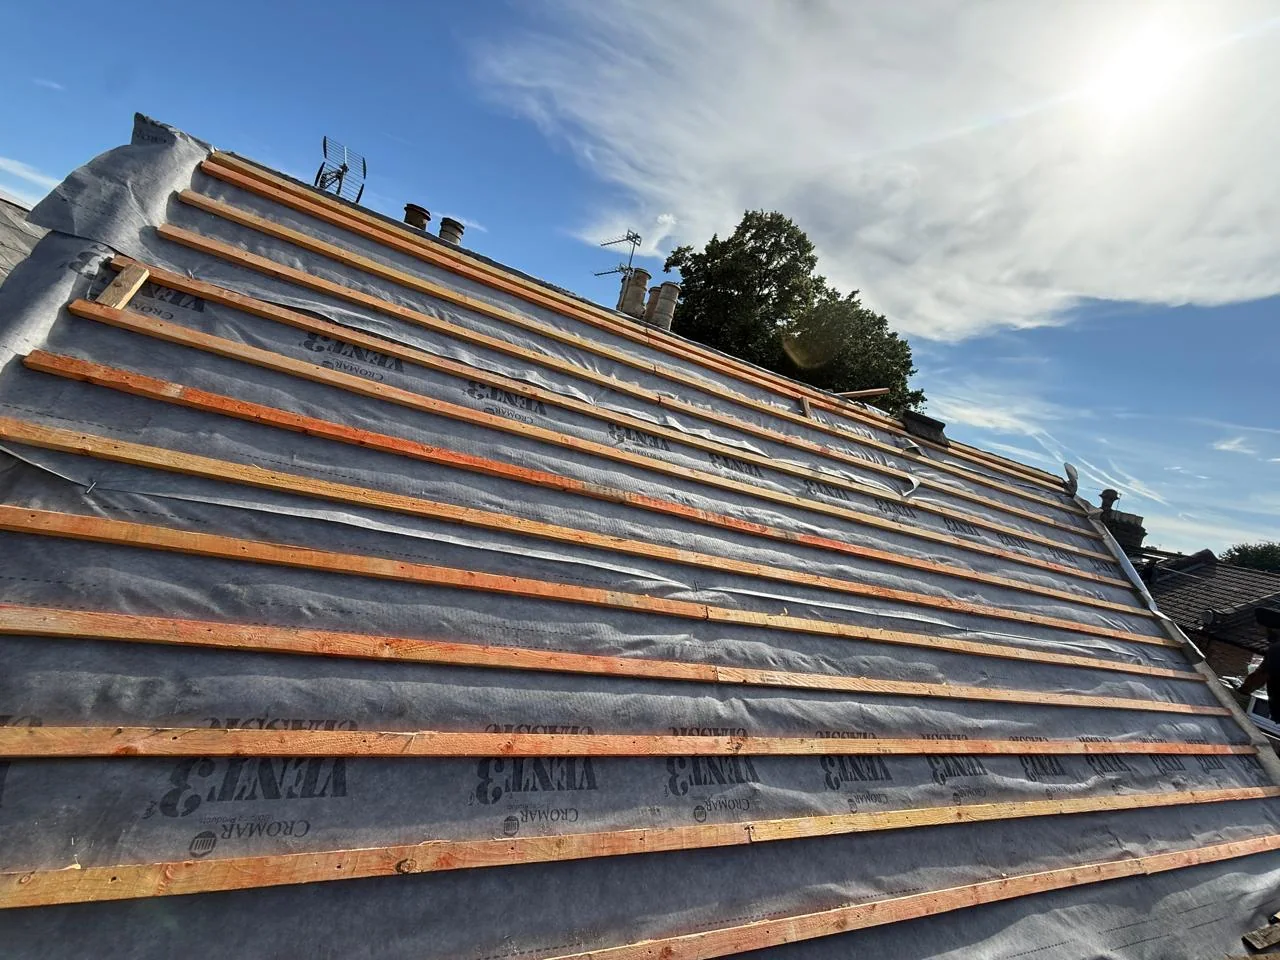
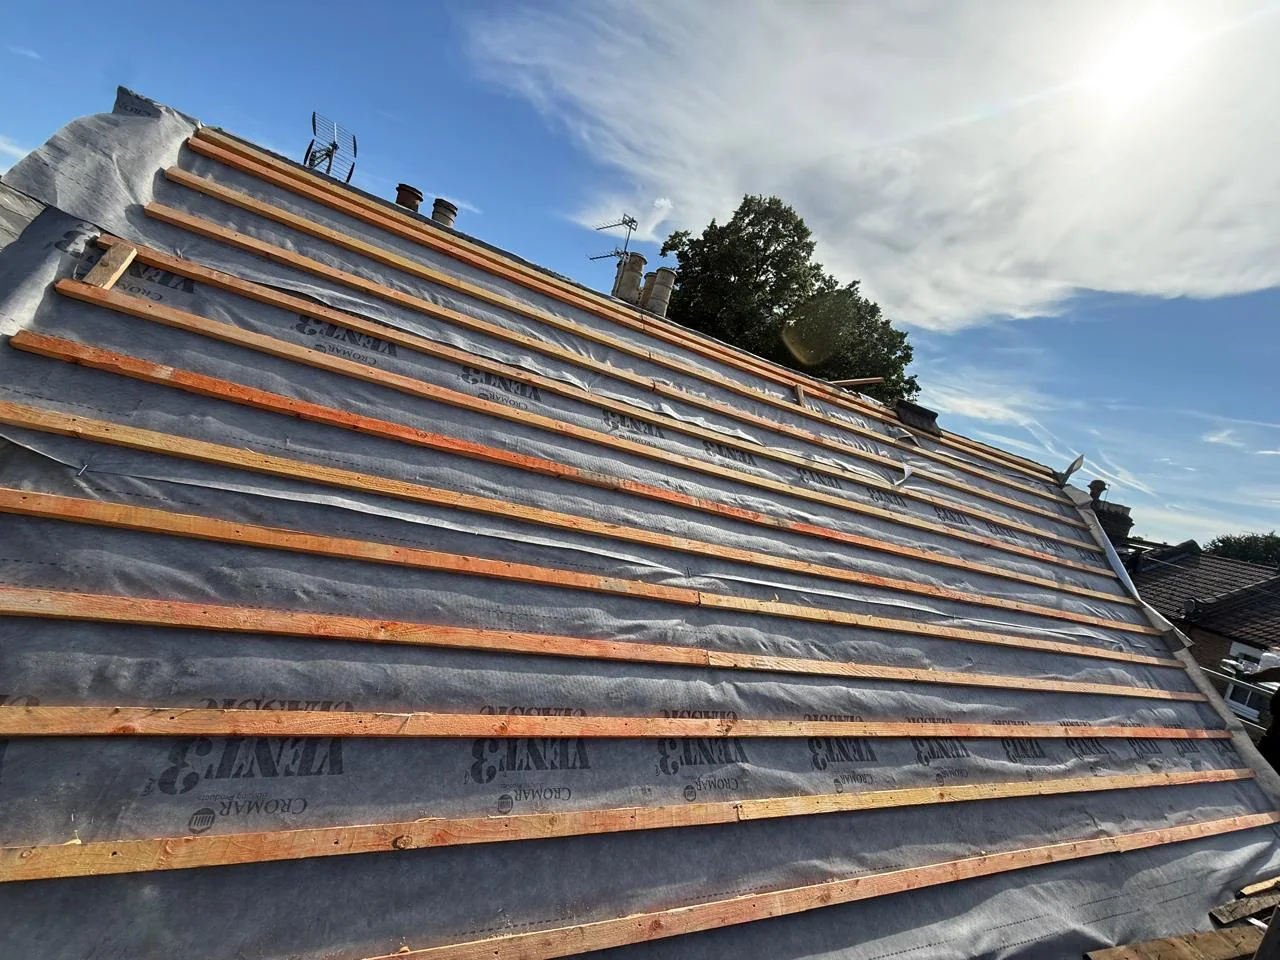
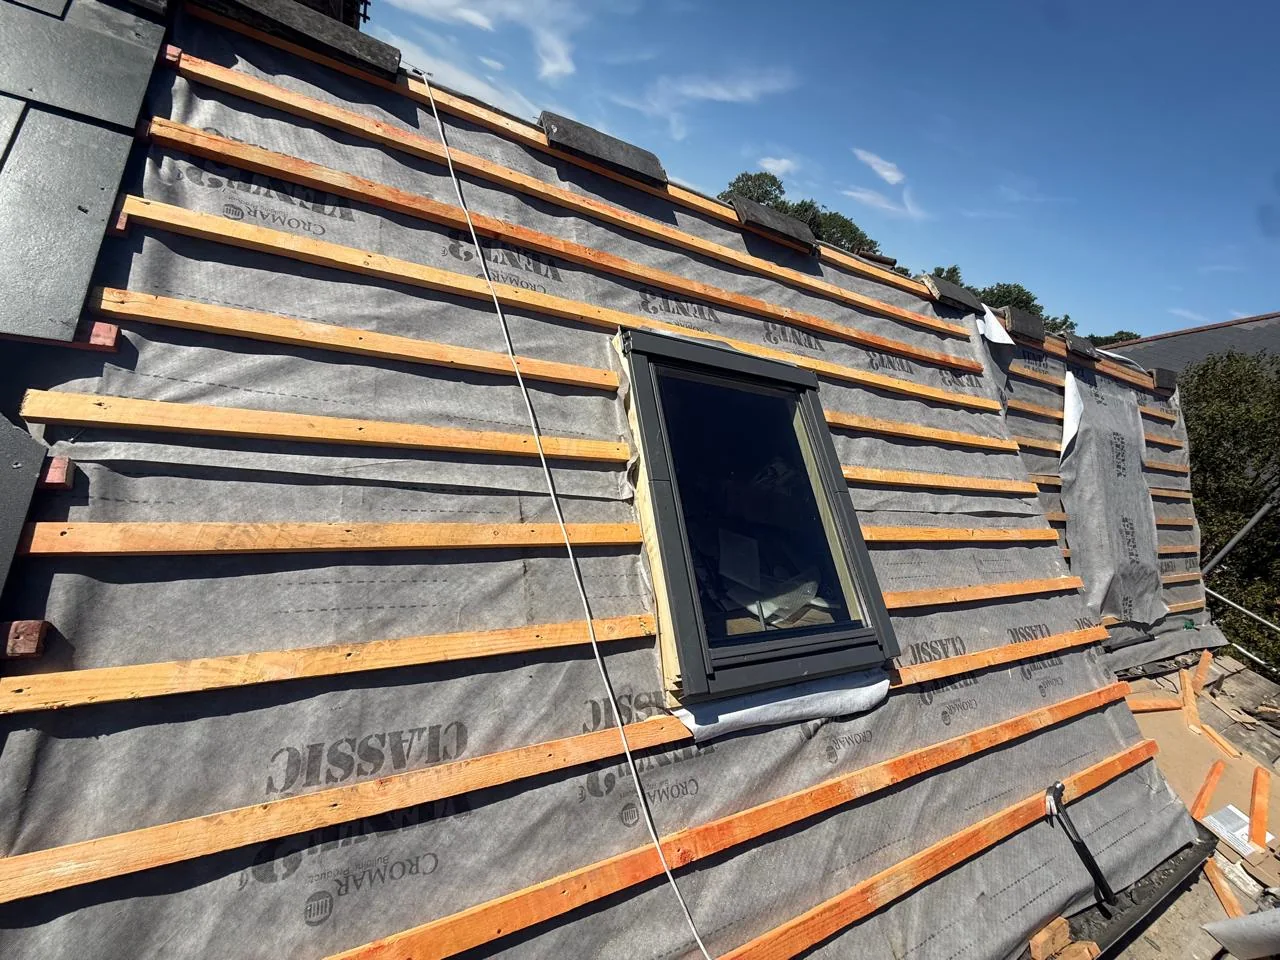
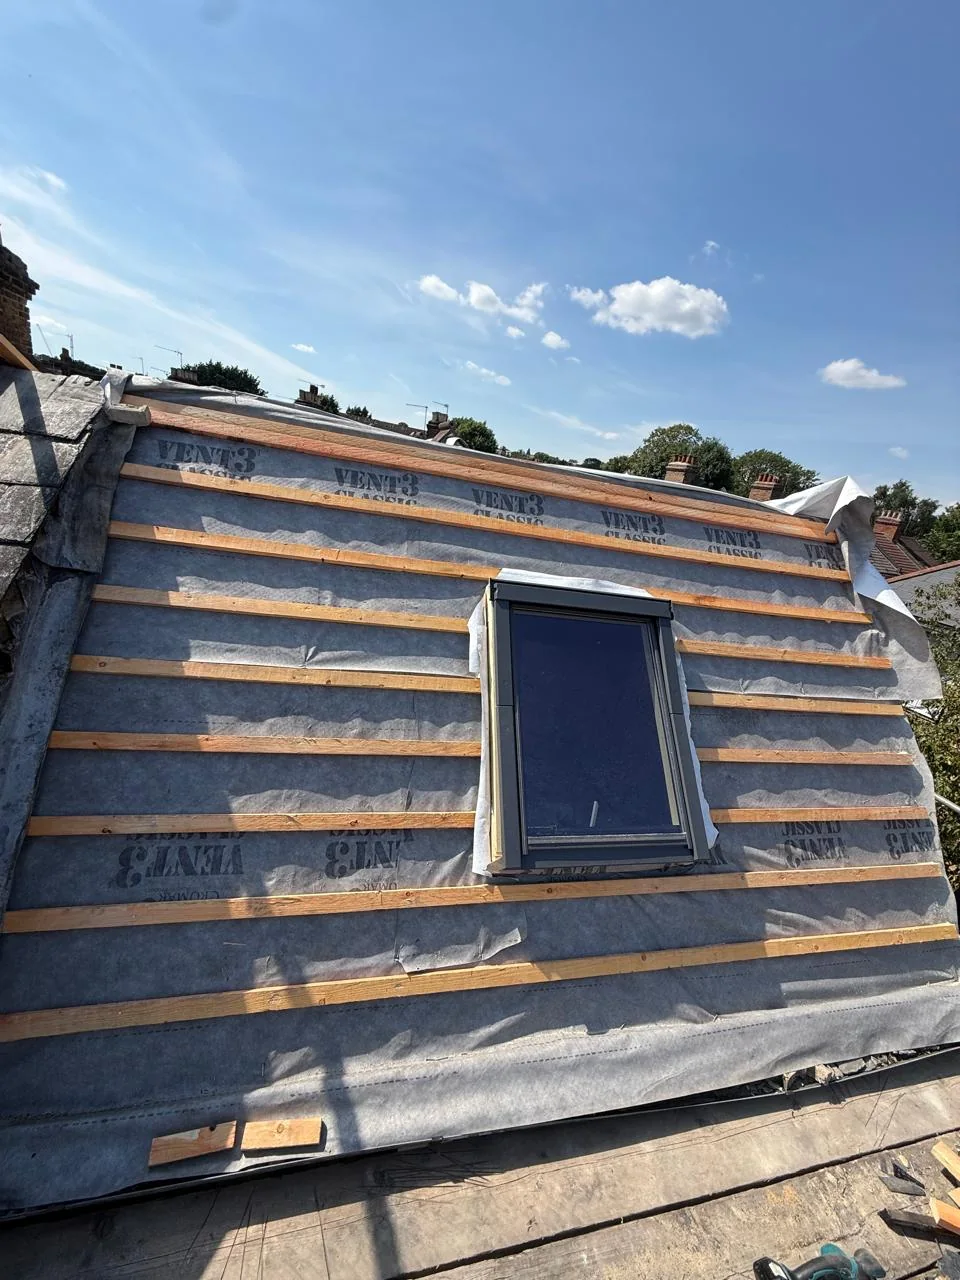
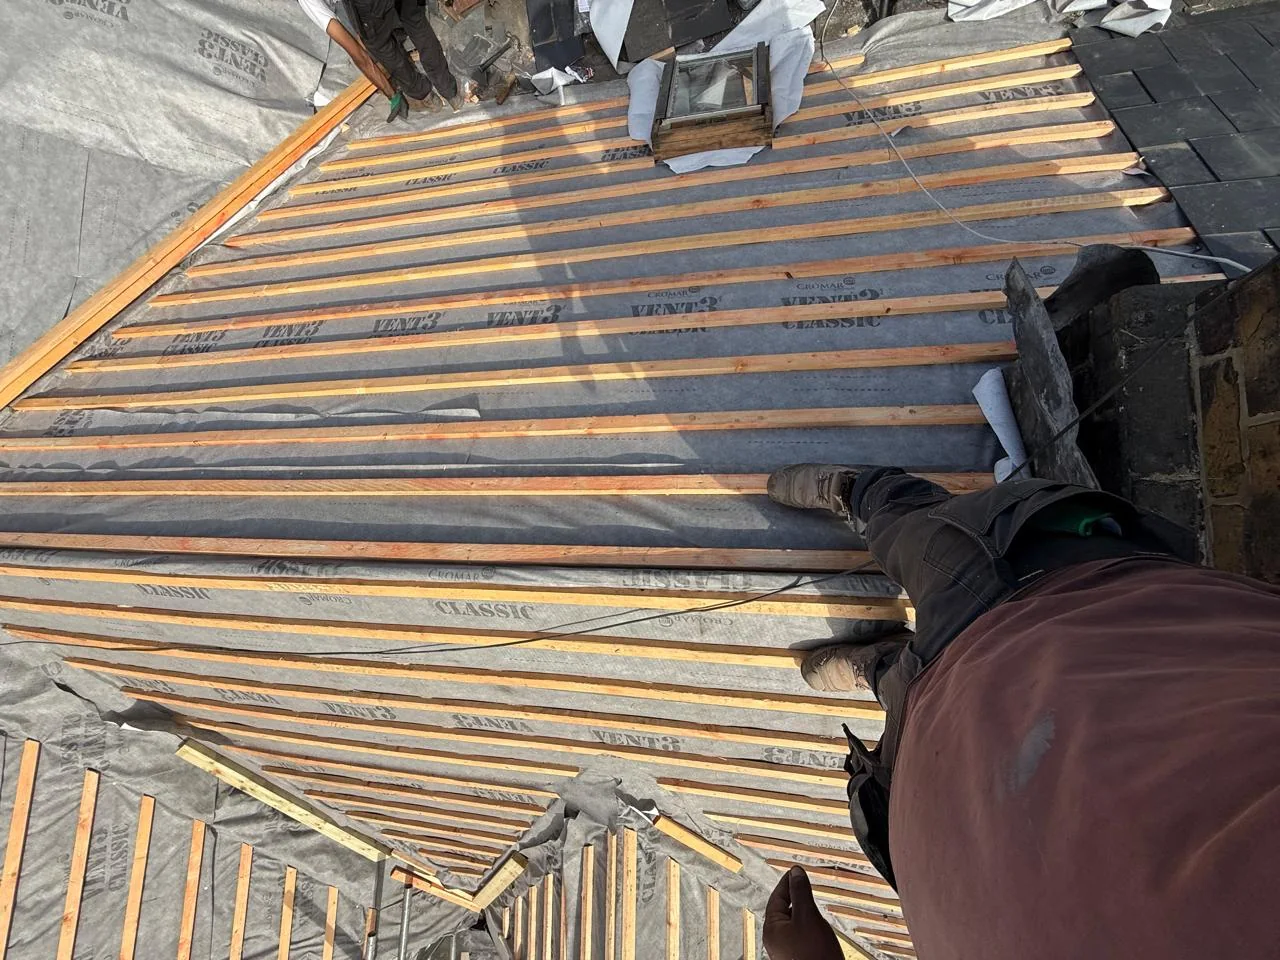
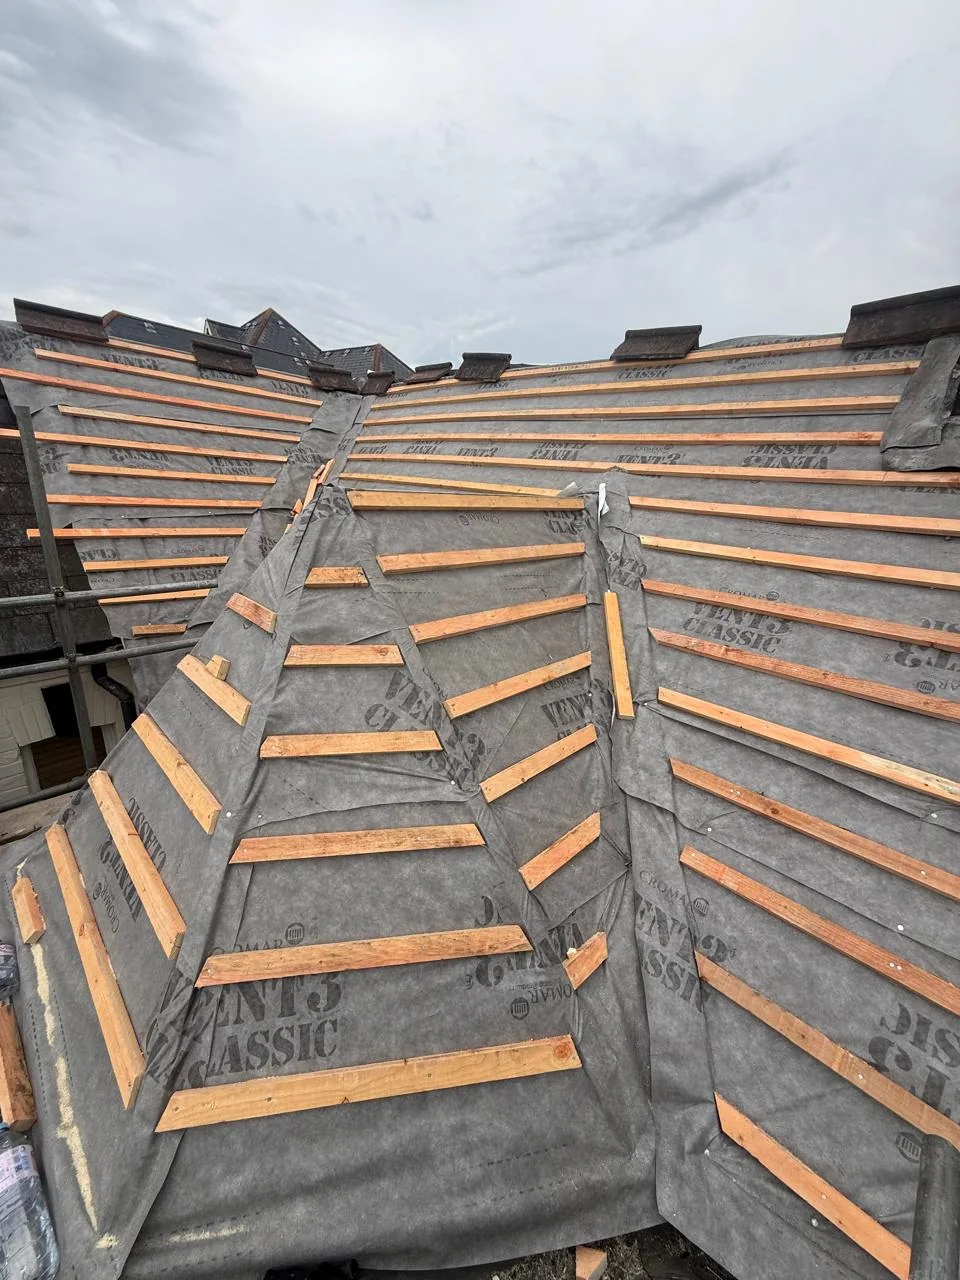
Old tiles off in sections, with new breathable membrane going straight on so the house stayed dry.
Battens
New treated battens at the right spacing for slate, worked carefully round the windows and valleys.
Slate
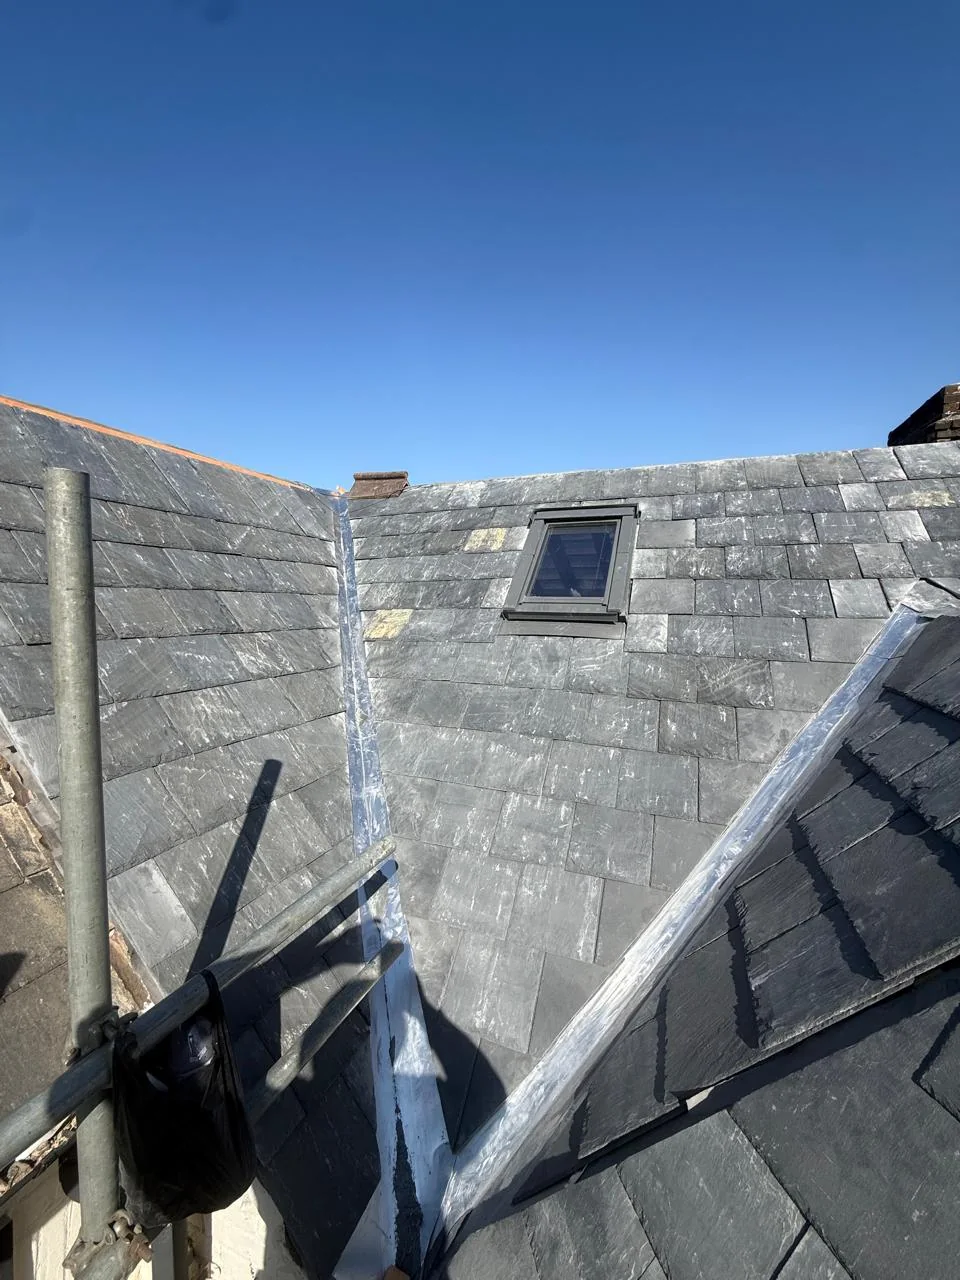
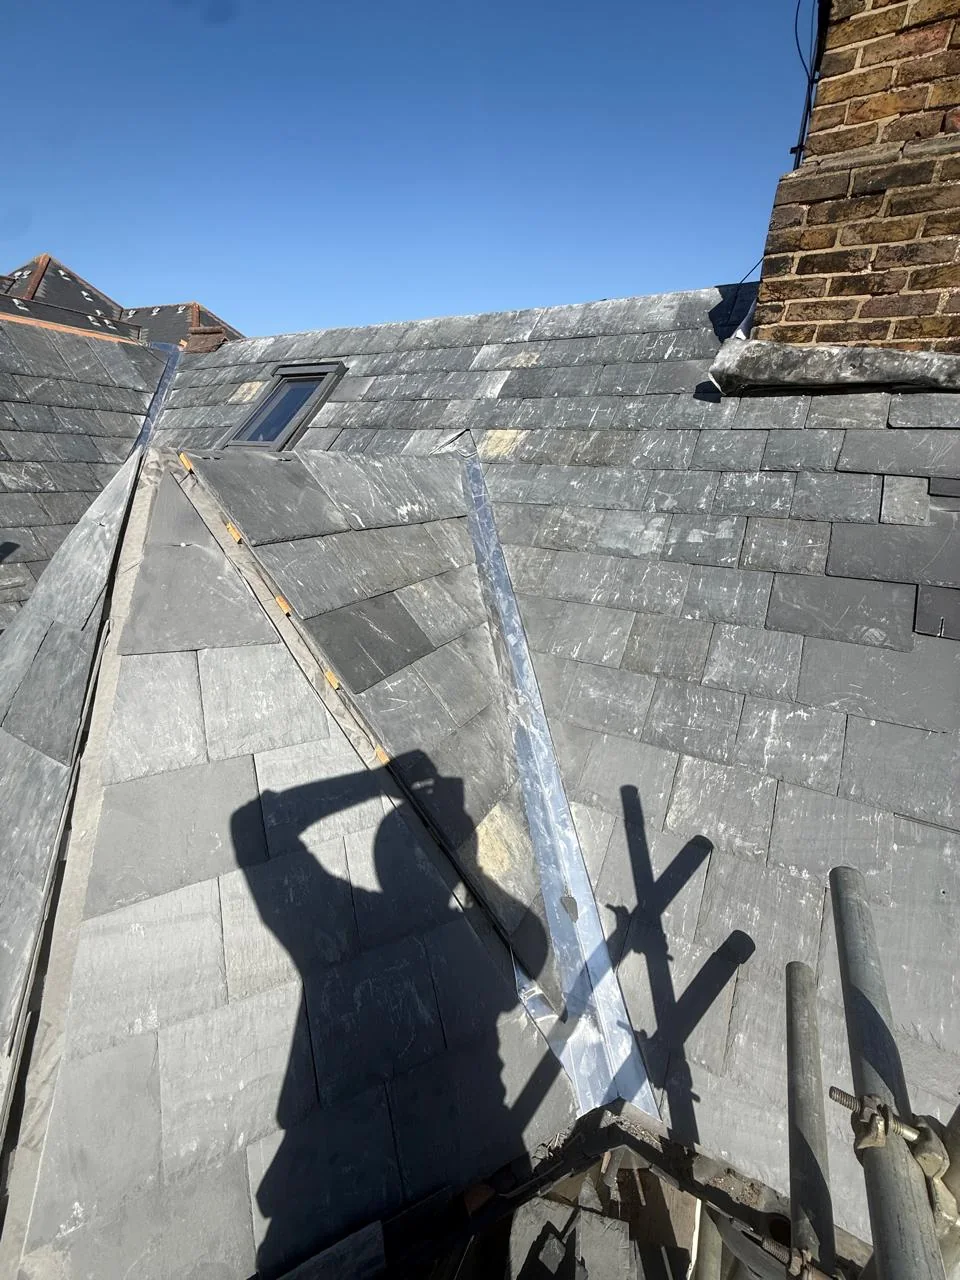
Natural slate laid and fixed, with lead valleys and the roof windows flashed in.
Before, during and after
Click any photo to see it bigger.
Let's look at yours
Every roof is different: size, pitch, access, what it is covered in and what state it is in underneath. Send us a photo and your postcode and we will take it from there.
Get a free quote